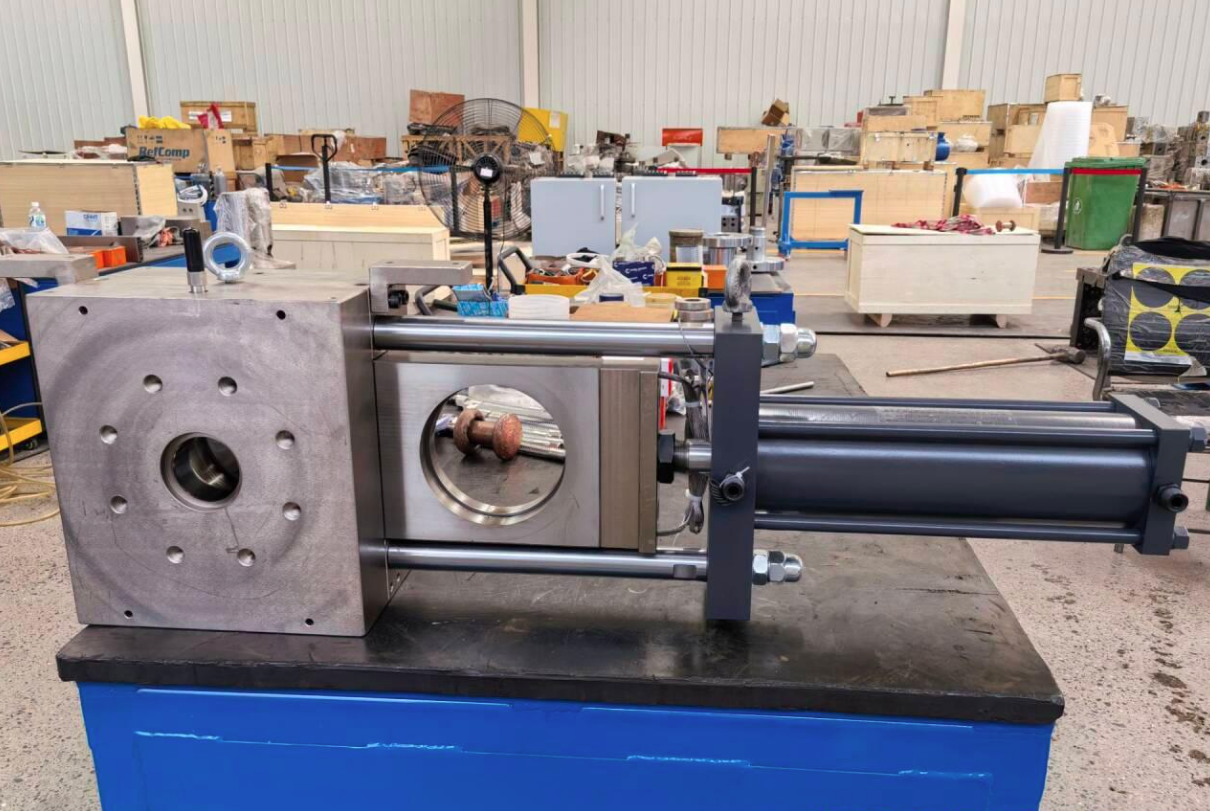
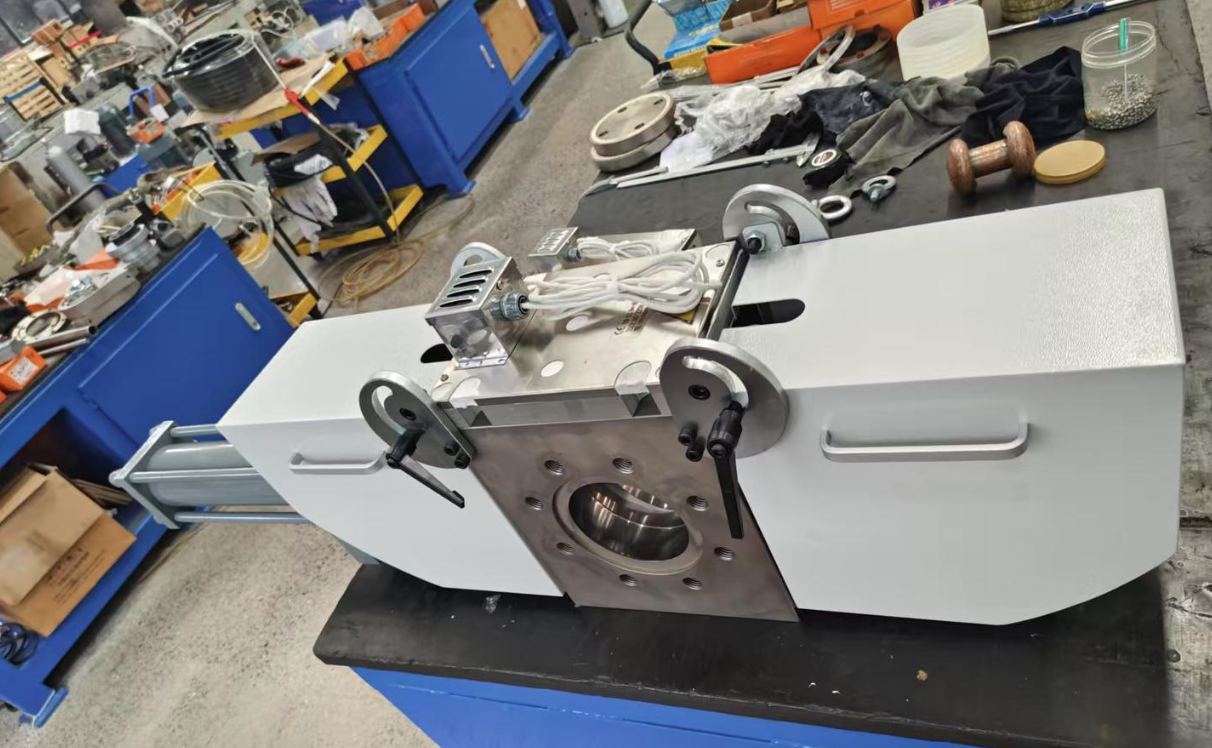
Operating Guide for Replacing the Filter Screen of a Plate-Type Hydraulic Screen Changer
Before replacing the filter screen of a plate-type hydraulic screen changer, please ensure that all necessary preparations have been made and follow the detailed steps below:
1. Inspect the spare filter station: First, carefully check whether the filter screen has been properly installed on the spare filter station. If not, install the filter screen accurately into the slots of the perforated plate, ensuring it is securely fastened.
2. Confirm the position of the perforated plate: Next, check whether the perforated plate on the spare filter position is fully in place. If the perforated plate is protruding from the slide plate, manually press it into the correct position to ensure a smooth screen change process.
3. Start the hydraulic station power supply: Locate the main power switch in the control cabinet and push it to the “on” position to start the hydraulic station power supply.
4. Check the relief valve status: Confirm whether the hydraulic station's relief valve is in the working position. Typically, a horizontal position indicates the relief valve is active, while a vertical position indicates the relief state.
5. Set the pressure gauge: Observe the pressure gauge setting value of the hydraulic station to ensure it is within the range of 15-18 MPa. If adjustment is needed, press the button in the middle of the pressure gauge and adjust the pointer to the desired position.
6. Initiate the screen change operation: Press the start button on the control handle. Wait until the black pointer on the pressure gauge indicates the pressure has risen to the set value, at which point the hydraulic station motor will stop running, and the screen change operation can be performed.
7. Perform the screen change operation: After confirming that there are no other personnel operating around the screen changer and that it is safe, press the push/pull button on the control handle. The screen changer will automatically perform the screen change operation at the filtration position. If the push/pull action is not fully completed, continue pressing the start button to complete the push/pull action.
8. Pressure relief and cleaning: After the screen change is complete, stop the hydraulic station and open the pressure relief valve on the hydraulic station to release pressure until the pressure gauge on the hydraulic station displays 0 pressure. Then, use a scraper to clean the waste material from the pushed/pulled filter position, ensuring thorough cleaning on both sides. Simultaneously, peel the filter mesh from the edge of the slot and remove it with pliers, then scrape off any remaining material from the perforated plate, especially any residue inside the slot.
9. Installing the new filter mesh: Press a new filter mesh into an arc shape and install it into the slot of the perforated plate. During installation, a scraper can be used to assist in pressing the filter mesh into the slot, ensuring that the filter mesh is fully seated in the slot and that the perforated plate does not have any protruding slides. At this point, the filter mesh replacement procedure is complete.

Please note that safety regulations must be strictly followed during the operation to ensure the safety of personnel and equipment. Additionally, regular maintenance and inspection of the filter changer are important measures to ensure its normal operation and extend its service life.
Email: sale@meltpump.com
WhatsApp: +86 158 3833 1071